
Bremen Manhole Material

Material Study

Video Game Asset

1 Week

Motivation
Substance Designer is an essential tool for 3D artists, especially when creating realistic materials. I created this material as a study to deepen my understanding of the software and improve my skills in crafting detailed, realistic surfaces.
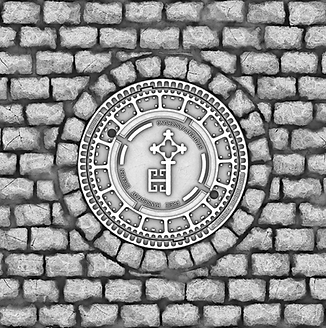
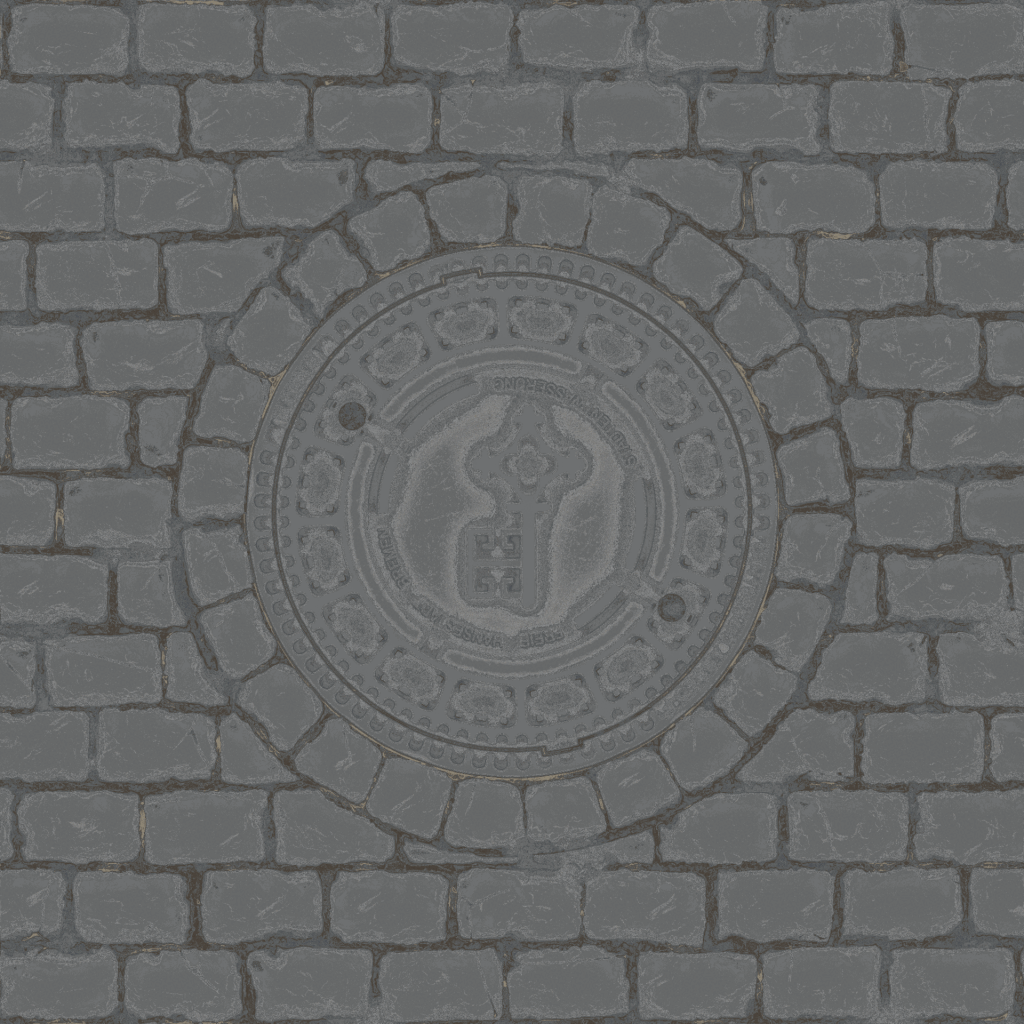
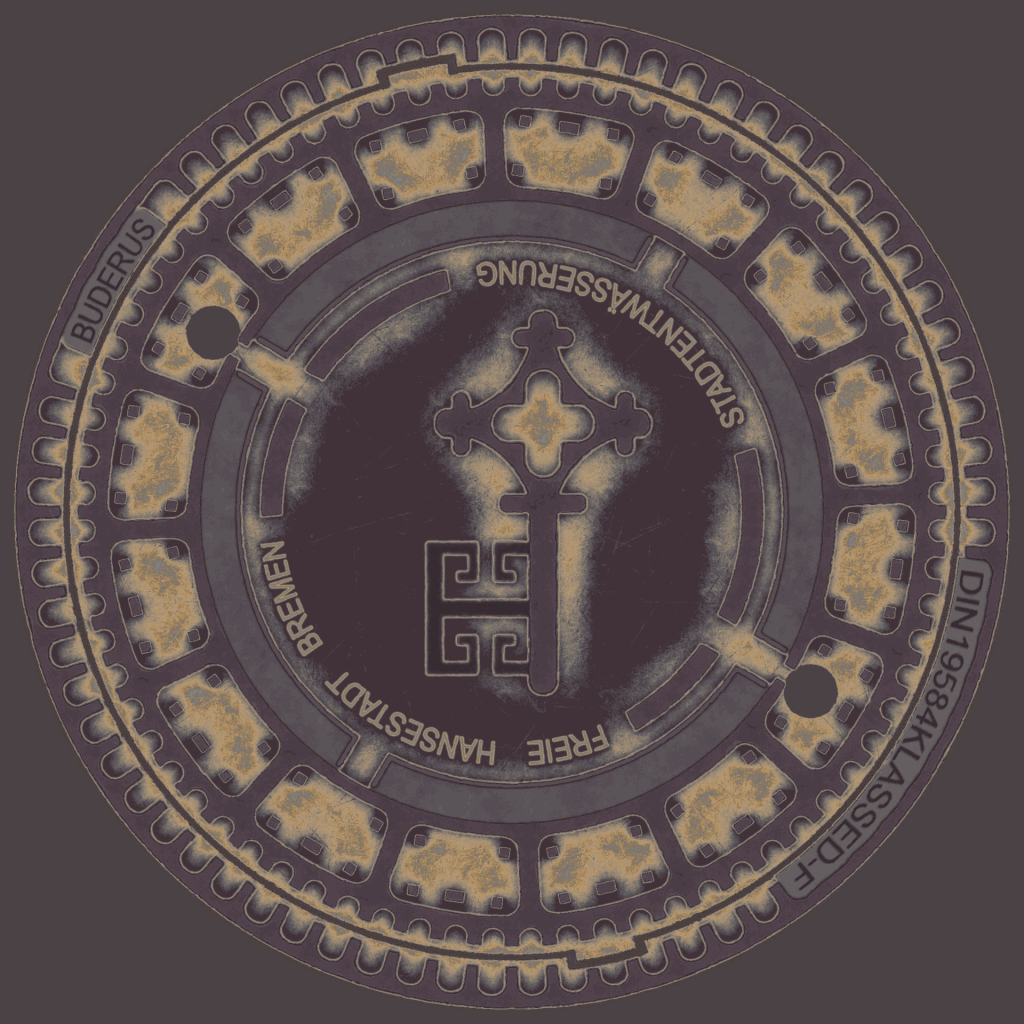
I chose a manhole cover from Bremen, my hometown, as the subject for this project. The interplay between the metal cover and the surrounding stones caught my attention when I saw it in the city. This combination of textures, along with the wear and weathering, provided the perfect challenge to practice techniques like masking, height maps, and roughness detailing.
Textures


References
The references for this material include cobblestone streets and manhole covers from Bremen. For the manhole cover, I aimed to stay as close as possible to the original design to capture its authentic details. In contrast, I chose to emphasize more wear and tear for the surrounding cobblestone street, adding character and visual interest to the material while showcasing the interplay of aged textures.
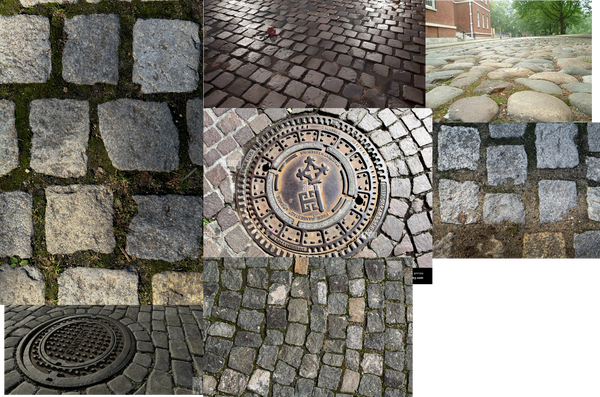
While the manhole cover and cobblestone streets from Bremen served as the primary references, I also incorporated additional reference materials to expand the range of details and ensure a broader visual variety. These supplementary references helped refine elements like surface wear, color variations, and material transitions, enhancing the overall realism and depth of the material.
Breakdown
To begin, I focused on creating the base shapes for the manhole's key design. This process involved combining fundamental shapes such as rectangles and circles to achieve the intricate pattern of the manhole cover.


Next, I combined the shapes to finalize the key design of the manhole cover. Using similar techniques, I proceeded to create the remaining details of the manhole. This involved refining the base shapes and layering additional elements to ensure consistency and accuracy in the overall design.


After completing the manhole cover, I added surface details to enhance its realism and then shifted my focus to creating the surrounding cobblestones. Starting with a base shape, I refined it using nodes such as the Tile Sampler, Slope Blur, Warps, and others to achieve the desired structure and texture. Finally, I blended the generated height maps to ensure a cohesive and natural look across the material.


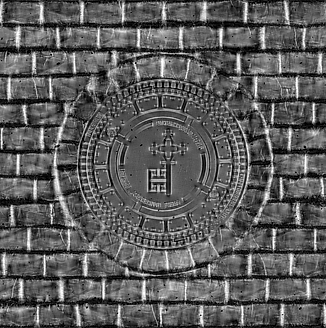
Once the height maps were completed, I used them to generate both the ambient occlusion and normal maps. Following this, I focused on creating the albedo maps for the dirt, stones, and manhole cover. To achieve this, I utilized various masks generated during the creation process, as well as ambient occlusion and curvature maps. These were combined with gradient maps and blended together to produce realistic and visually cohesive textures.
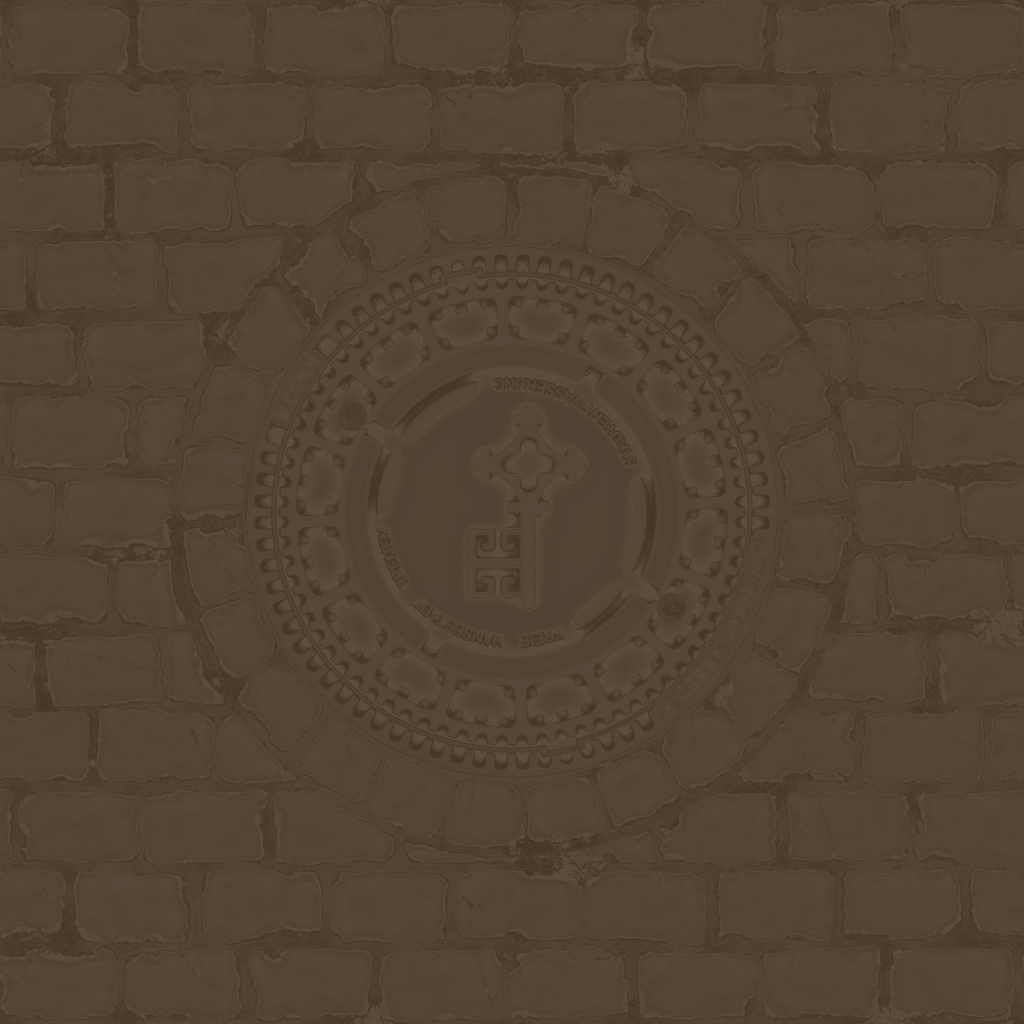
To finalize the albedo map, I combined the individual albedos of the stones, dirt, and manhole cover by leveraging the outputs of the height blends. This ensured a seamless integration of the different elements and maintained consistency across the material.
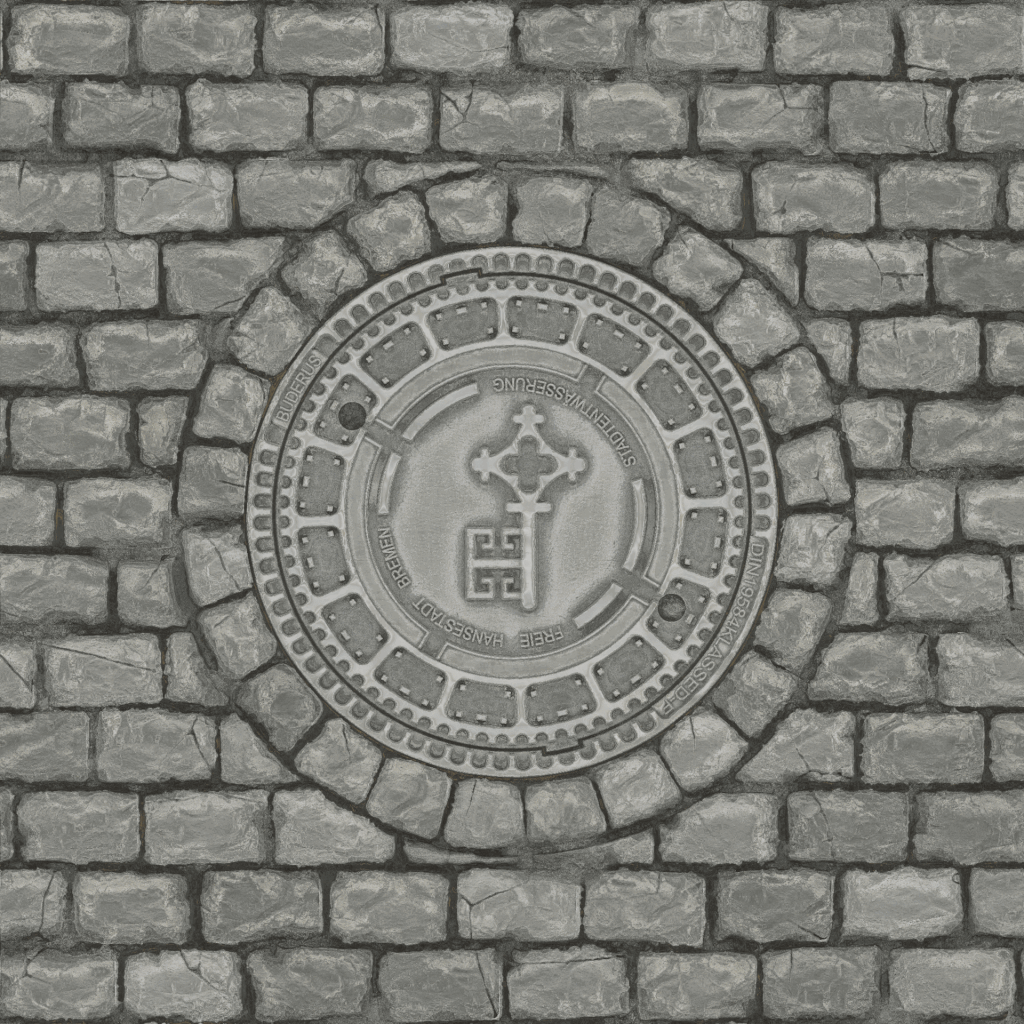
To wrap up the project, I exported the created textures and rendered them in Marmoset Toolbag for presentation.
